Today was a tense day!
The roof was to go in by crane and as you would imagine, I was a little nervous about the entire operation.
Firstly there was a lingering access issue which even late last night lead me to call the client to discuss contingency plans in case it didn't work.
Even the owner of the crane apparently came by and visually checked the access and gave his nod (I only found out later on though).
Anyway the crane arrived and we had to get the frame element which was pre assembled in the driveway area turned over.

This is where my first shock was!

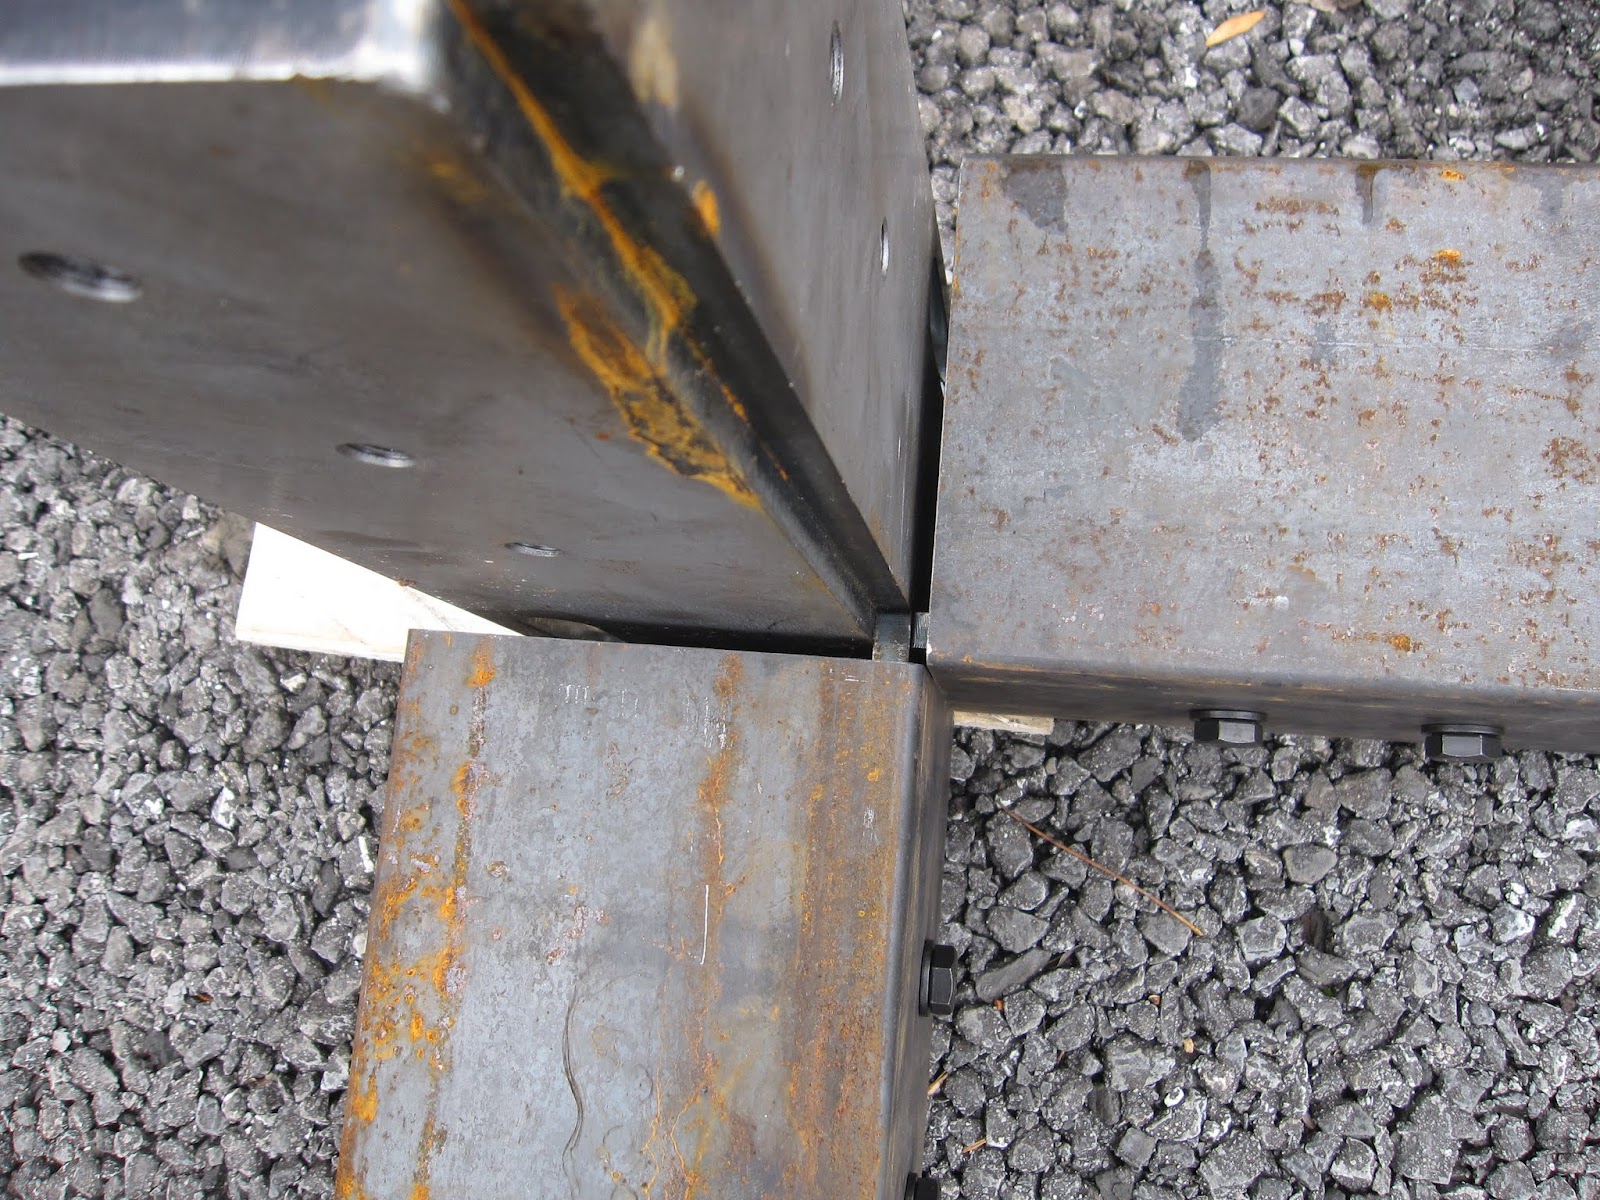
The elbows are not up to the force from the weight of these steel elements. The top frame got way out of square as it came back down and seems to have bent the tabs of the elbows that bolted to the pipes.
Actually after it happened, it was a no-brainer that this would happen. Stupid me!
The lesson here is to somehow temporarily brace this element if it needs to be maneuvered like this.

Then the next problem. The crane arm was not long enough.
As I mentioned in the start of this post, my gut was telling me last night that this may happen, but everyone else was waving my fears away, well it happened!
There you can see we had gotten the crane as close as possible to the retaining wall of the garden. In the background you can see the Gardenqub waiting for the top frame. We measured about 15m range and the top frame weighs in at max 500kg. Should have been a snap!

But seems that since the ground is lower where the crane is parked and we need to get the top frame up higher to clear the trees, this was all too much. We were about 1 meters short!

So Stump Sen. calls Stump Jnr. to get the crane extension out!

And this did it. Now we had range to spare.


And here it is!
After screwing around with the cherry tree in the left corner (one of whos' main branches conflicted with the space which the top pipe had to now occupy) and the matter of getting all the corners in all at once, it got done.


The surgery on the cherry tree to make way for the pipe.


The power conduit was pushed up in to the vertical pipe in preparation for lighting. The client and I are still to discuss what kind of lighting to install. I have some cool ideas for this, just have to sketch them and figure out the technical details. These openinggs in the top of the uprights will stay open. Additionally the elbow units inside have M12 threaded holes into which other things can be mounted, for example a flag pole or even a small wind generator!
So there is only one more step left. The flooring!
This will be done over the long weekend this weekend.