Showing posts with label pavillon. Show all posts

Sunday, November 4, 2012

Gardenqub is Finished!

Hooray! It is finished.
Yesterday the client and I spent the best part of the day laying the flooring.
It should have been a smooth process but for reasons that will become clear as your read this post, it wasn't!

We are half way through the laying and we discover a problem. The specified width of each board is 242mm and the spacing T piece which is also the fixing system occupies another 7mm as a gap. Together 1 board and 1 gap should = 249mm.
The total space between the 2 steel floor elements is 3493mm (14 boards x 249mm + 7mm)
What we noticed though was when laid, 1 board + 1 gap were between 250mm and 251mm. Never less than 250mm!
By the end of the span we were over more than 20+mm!

We first stared to use clamps in reverse to create maxiumum tension in the boards, but this was not giving us the results we needed.
Then we came up with an idea to chase back these gaps - by modifying the T pieces that make the gaps.
It was time consuming bue we were able to file off some plastic to make a gap of about 6mm which after laying resulted in overall board+gaps of 248.5mm.
Even with this, the last 2 boards were not so straight forward to install, but in the end it went in without long cutting the last board.

I think the result was worth the effort. We have a span with exactly 14 boards.

The cut out around the Walnut tree had to be adjusted after we got the last boards in. No problem with the jig-saw. I hope there is enough growth room for 10 years with the opening we got. Luckily Walnut trees are slow growers.


And finally some pics of the end product. The Yagoona Gardenqub.

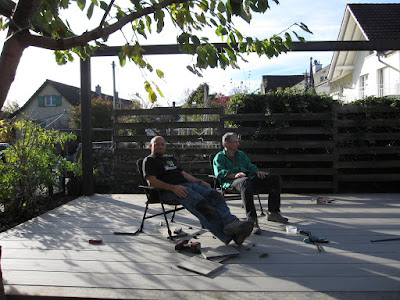
p.s. the client and I relaxing after a job well done.

Tuesday, October 30, 2012

The roof frame goes on

Today was a tense day!
The roof was to go in by crane and as you would imagine, I was a little nervous about the entire operation.
Firstly there was a lingering access issue which even late last night lead me to call the client to discuss contingency plans in case it didn't work.
Even the owner of the crane apparently came by and visually checked the access and gave his nod (I only found out later on though).
Anyway the crane arrived and we had to get the frame element which was pre assembled in the driveway area turned over.

This is where my first shock was!

The elbows are not up to the force from the weight of these steel elements. The top frame got way out of square as it came back down and seems to have bent the tabs of the elbows that bolted to the pipes.
Actually after it happened, it was a no-brainer that this would happen. Stupid me!
The lesson here is to somehow temporarily brace this element if it needs to be maneuvered like this.

 Then the next problem. The crane arm was not long enough.
As I mentioned in the start of this post, my gut was telling me last night that this may happen, but everyone else was waving my fears away, well it happened!
There you can see we had gotten the crane as close as possible to the retaining wall of the garden. In the background you can see the Gardenqub waiting for the top frame. We measured about 15m range and the top frame weighs in at max 500kg. Should have been a snap!

But seems that since the ground is lower where the crane is parked and we need to get the top frame up higher to clear the trees, this was all too much. We were about 1 meters short!

 So Stump Sen. calls Stump Jnr. to get the crane extension out!

And this did it. Now we had range to spare.


 And here it is!
After screwing around with the cherry tree in the left corner (one of whos' main branches conflicted with the space which the top pipe had to now occupy) and the matter of getting all the corners in all at once, it got done.


The surgery on the cherry tree to make way for the pipe.


The power conduit was pushed up in to the vertical pipe in preparation for lighting. The client and I are still to discuss what kind of lighting to install. I have some cool ideas for this, just have to sketch them and figure out the technical details. These openinggs in the top of the uprights will stay open. Additionally the elbow units inside have M12 threaded holes into which other things can be mounted, for example a flag pole or even a small wind generator!

So there is only one more step left. The flooring!
This will be done over the long weekend this weekend.


Friday, October 26, 2012

The floor joists

The woodworking parter, Stump Holzbau AG came, delivered and installed the custom made floor joists today.
They are quite hefty items at 100x200mm
This is required so that they can span the entire width of the Gardequb with no middle support.

Here you can see them with black plastic water protection membrane over the top of them.
You may be able to see the splaying of the joists toward the ends so the joist hangers would not go lower than the 150mm steel square pipe elements which the Gardenqub is made from.

The end joists had to be made so that they were not 200 deep. Together with the 24mm flooring thickness would have meant that the end joists would extend below the metal elements by 74mm. This would have been easily visible underneath the metal elements and would have disturbed the optical cleanliness of the overall design.
So these joists are only 100x120mm and to compensate for the loss of structural integrity, they were bolted to the steel elements in 3 places.

The spacer you saw in the previous image is because of the joist hanger bolts which force the joist to be about 18mm free of the metal frame.

Here is another view of this bolt arrangement.

Here is a shot of the flooring on top of the joist. A heights are such that there is a nice flush finish to the frame elements.

A sample of the flooring and how it will end at the frame element.
The flooring is from a company called Megawood and it is a composite material containing 70% wood material. The client chose the wide boards with the wavy finish in a nice soft pre aged grey colour. This should look very nice once the frame element turns a more orange red rust colour.

Next step: installing the roof frame.


Back to finish the job

Well I'm back from a badly needed 3 weeks vacation of sun and beach in Australia.
I had almost forgotten what the Gardenqub was!....  well not really, but you all probably know the feeling when you have had a good vacation.

Thought Id share a pick from this vacation with you here...


Me and my son in Byron bay outside a hippy music shop. Do I look happy?

back to business now...

Its time to do the last lap of work to get this project finished. The final pices of metal that were not in stock before had arrived at my friends workshop and 2 days ago got the holes drilled.
So today I went and constructed the roof frame element ready for installation.

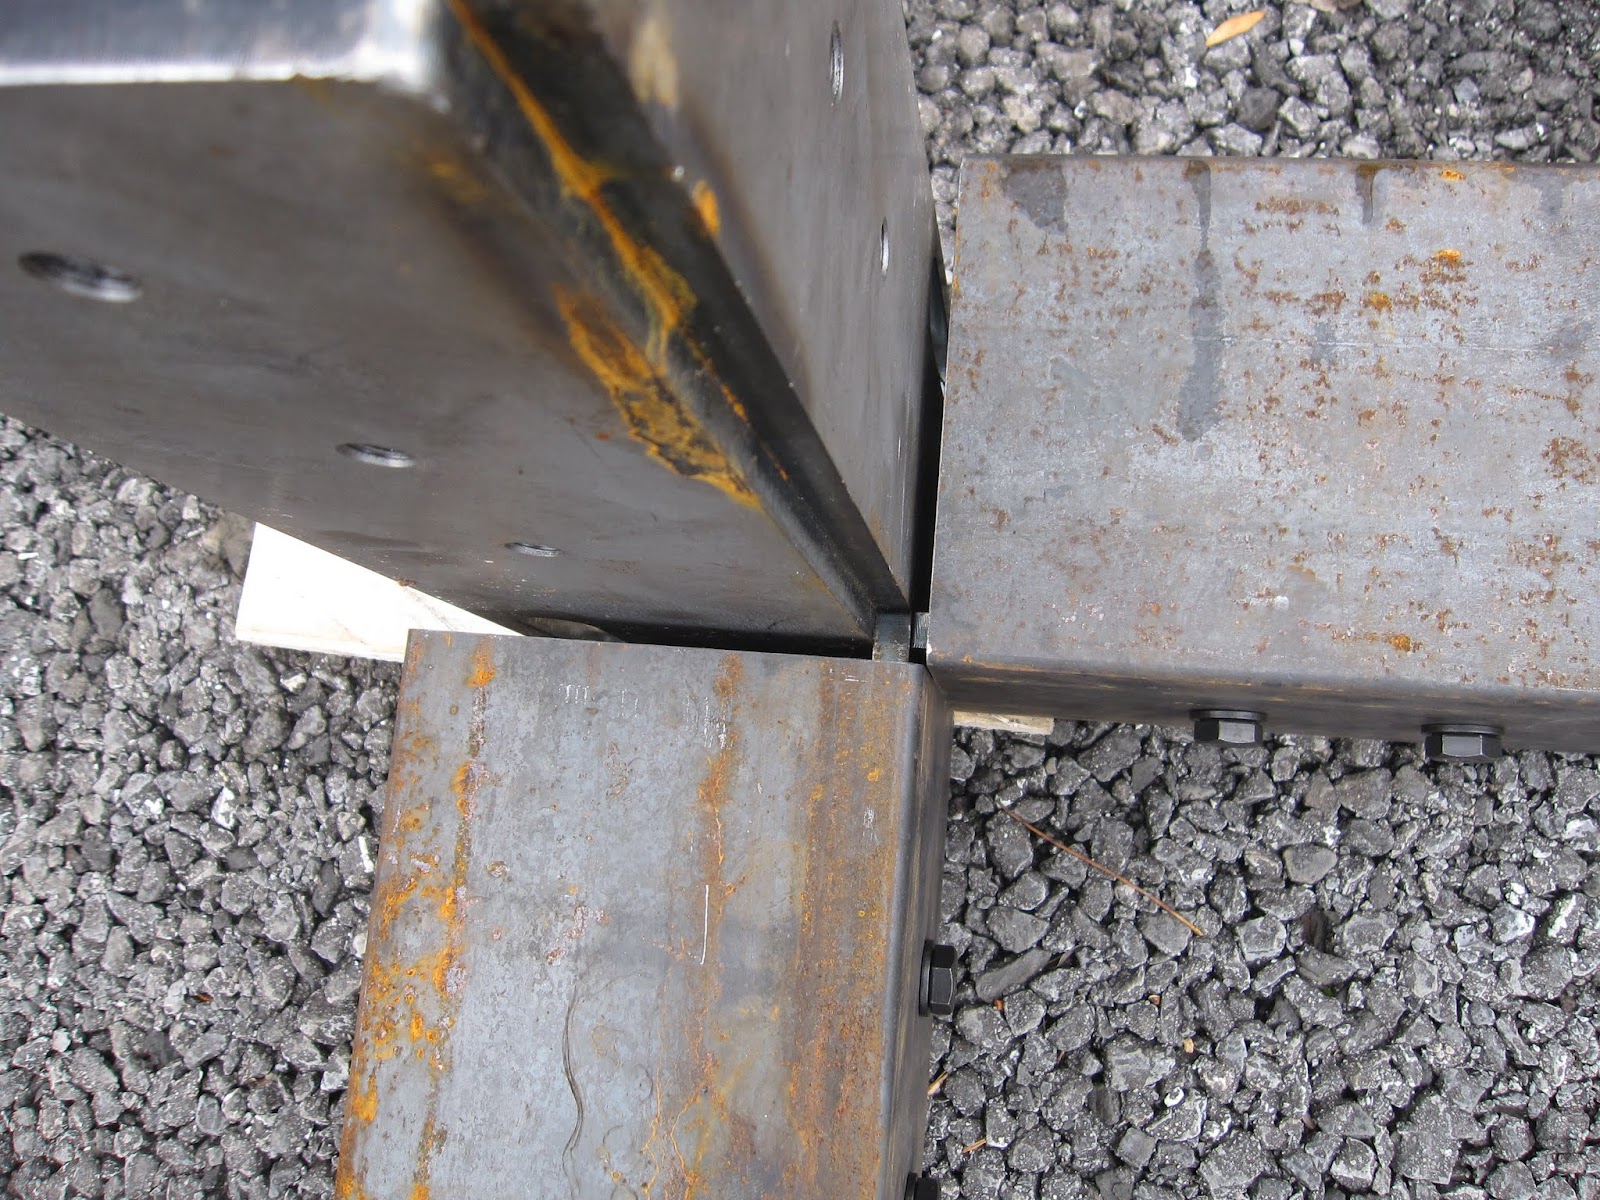
Here is the roof elbow (virtually the same as the lower frame elbows) ready to connect to the roof elements.

An elbow bolted together. I have not tightened the bolts to give me a little play room during final installation.

A close up of the square pipe elements connected to the elbow. Note the 5 mm gap in which the vertical element will go.

The back side of the elbow. This will be hidden by the vertical element.

The entire roof part of the Gardenqub. It is up side down here in the carpark and will wait till next week when we can install it with a small crane.

Thursday, September 27, 2012

More progress with the Gardenqub

It is a mad rush at the moment as I try to get as much done in the Gardenqub before my vacations.
but I am pretty happy with the progress.
Take a look at how its going...

Starting to join the steel elements to the bottom elbows.

The elbow closest to the walnut tree which the client has chosen to integrate into the flooring.

 It was easier than I thought to get the long elements in. This was because of the middle foot which I fixed to the element first allowing me to use it as a pivot point.

Got the bolts in but they are loose for now until we get the entire thing exactly square and in precise position.

The vertical elements are about 70kg each, but to my relieve, they slotted in perfectly. Here you can see the timber fulcrum we used to make finer adjustments in order to get the bolts in.

And here we go. The base frame is in and the uprights are in.
The base has been squared off and we leveled all the elements. We gave the entire Gardenqub about a 15mm fall to the back boundary so as to get a little natural drainage off the flooring.

Here you can see the special corner joist hanger. It is integrated into the bolt pattern of the main elbow bolts This joist will end up about 20mm away from the short frame element shown in this pic as the horizontal element. This is because of the joist shoe thickness and the bolt heads.

Now that all the proper spacers are in under the feet on the footings, the bottom frame is square and level, and all the bottom frame bolts are tight, we fill the gap between the feet and the footings with non shrink concrete grout. When that sets we'll drill a few holes down into the footings and bolt then down.

Next steps are to attach all the joist hangers to the bottom frame elements, and then install the flooring to the joists. All the floorboards are cut to the right length and the width of overall Gardenqub was adjusted so there is no board splitting.
At this point the bottom part is complete.

We are still waiting on the metal elements for the top frame which is basically a copy of the bottom frame without all the joist hanger holes.
The plan is to assemble this on the ground, and then using a small crane to lift in onto the upright elements.
 Conclusion so far:
I was a little nervous as I started to assemble the parts. I had devoted a lot of time to the preparation and plans of each part of the Gardenqub so that they would slot and bolt together with the minimum of fuss and time.
As I said in a previous post, this Gardenqub, the first full size example, is much larger than what I had initially planned. So the morning of construction, a million possible things that could go wrong buzzed in my mind: could we man handle the larger elements, will everything slot in as planned, have I drilled all the holes correctly, etc....

So it was with a huge grin and a satisfied sigh of relief that I, assisted by a friend who is a office worker with basically zero experience in construction, managed to man handle and assemble the Gardenqub to this point, with hardly any swearing, no last minute cutting or bashing, in 1 day!
The only tools we used were:
  • a few spanners
  • a spirit level
  • a rubber mallet to coax the steel elements into position
  • some lengths of wood as levers to lift and shift the large steel elements.
  • a pair of ratchet tie-down straps to bring the lower frame to square.
  • a laser disto to check the diagonals before final tightening
Pretty basic kit!

At this point, I now see little to no risk for the roof element installation apart from the Cherry tree in the back left corner. We need to finesse the roof frame into the branches and then finally into the vertical elements. Considering how it has gone so far, I expect this to take a morning to complete with about 1-2 hours of crane time.

If you have been following these posts, there will be a bit of a pause now for my vacation. When I get back we will finish this project in a few quick sessions.


Sunday, September 23, 2012

Steel components completed... almost!

On Saturday, Hubi (a good friend of mine who lets me use his workshop and helps me with technical issues) and I completed the bulk of the metal work for the first Gardenqub.
Here are some pics:

Here is one of the joist hangers attached to the bottom frame element, and yes, those are my feet in the pic as well.

These are the 2 5.7m long frame elements that will hold the floor joist hangers. The holes are marked and ready for drilling.


Here you see my friend Hubi welding and in the lower pic one of the Gardenqub elbows welded and ready for installation. As you can see, Hubi is a master welder.

One of the lower Gardenqub elbows with the foot welded together.

The 26 normal joist hangers collected here ready for delivery. Under them are some of the frame elements 

The Elbows and corner joist hangers ready ready for delivery.
These are the parts that would be delivered to customers of the Gardenqub. Everything will smoothly bolt together. I anticipate that the assembly on site will be surprisingly rapid now.

With vacations planned for next week, I have just this coming week to get most of this project done. The client is a little apprehensive about progress but is pleased to see that we are doing everything possible to get his Gardenqub in place.

In any case, the metal supplier did not have enough square steel pipe in stock to supply the entire quota of pipe required to complete the Gardenqub. The upper frame will be supplied in about 2-3 weeks so this gives me breathing room with the client.